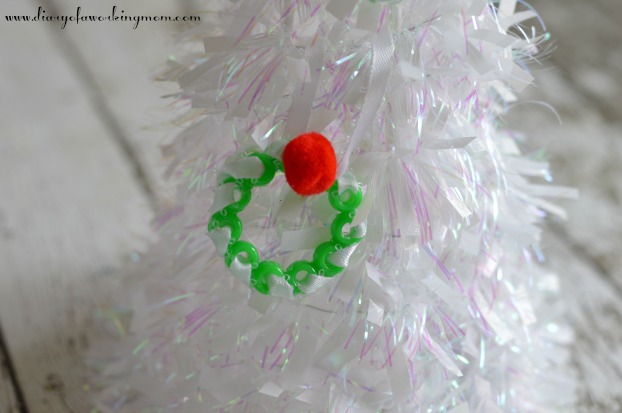
Every year, I try to make a homemade ornament for our tree. Sometimes it’s an ornament I make with the kids help, and other times, it just something that I do myself. It may not be fancy, but it keeps our tree personal because something that I worked on. And yet, this year, I feel like I’ve had less time between Thanksgiving and Christmas than ever before. How is it that when you’re a kid those 3-4 weeks go by so slowly, but when you’re an adult it feels like the same 3-4 week period goes by at the speed of light? Simply put, I didn’t have much time to put together an ornament this year, but I didn’t want to abandon the idea altogether. So as a compromise, I came up with this DIY Christmas Wreath Ornament. It requires very few supplies and they can be put together in just a few minutes. Plus, if you want to get fancy, you can use the circle in the middle of the wreath as a picture frame and insert a photo!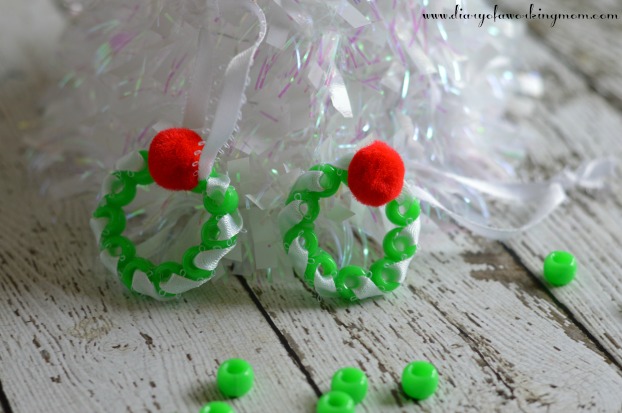

Want to know how to make them? I promise…It’s really easy! And if you have older kids who are going to be out of school in the coming weeks (and can be trusted with a glue gun), they’d probably enjoy making these too!
You will need:
Green beads
White ribbon (although you could also use red or green, if you preferred)
Red pompoms
Hot glue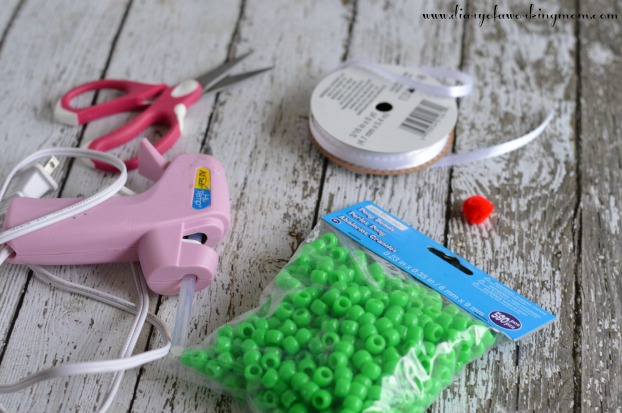
White ribbon (although you could also use red or green, if you preferred)
Red pompoms
Hot glue

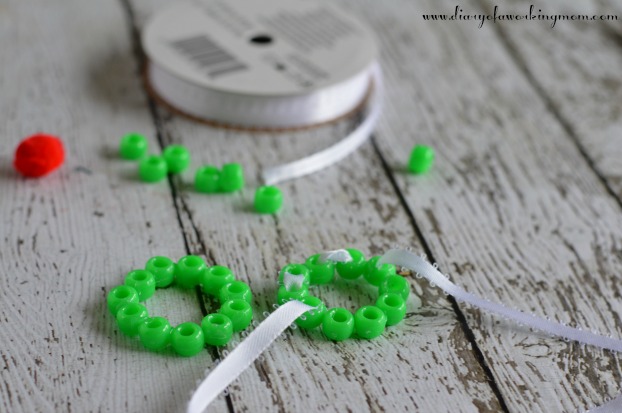
Step 1 – Make a circle with your green beads. The best way to do this is to lay them out on the table in front of you in the exact size that you’d like your ornament to be.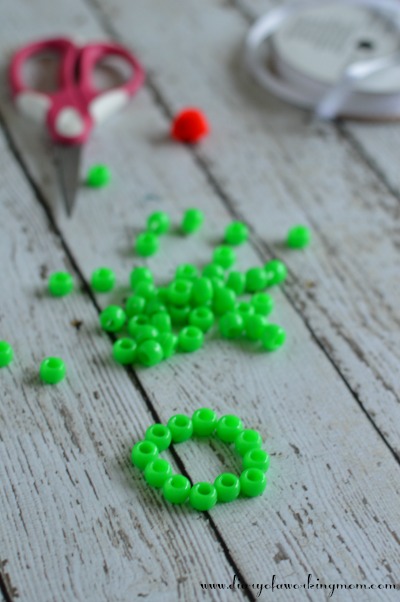

Step 2 – Using your hot glue gun, put a small dot of glue between two of your beads and press them together firmly until the glue dries and they stay together. Continue doing this with the next bead in your circle, and then the next, and the next until your circle is completely glued together.
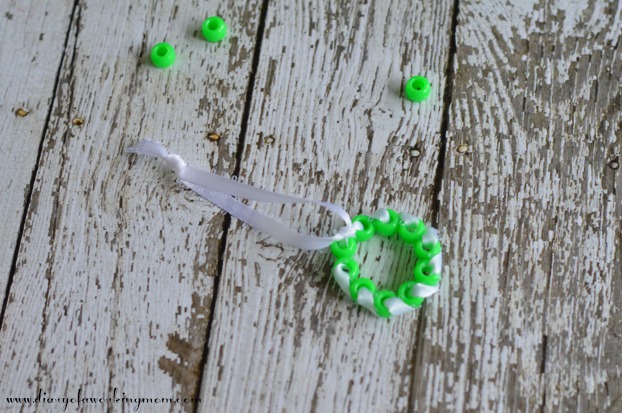
Step 3 – Cut your ribbon to approximately 2 feet (depending on how big you’ve decided to make your wreath, the 2 foot estimate is based off a smaller wreath, so keep that in mind).

