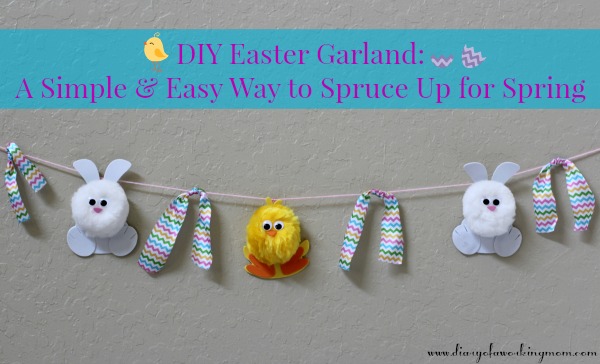
 My mom took holidays pretty seriously. We always celebrated and had decorations, and often times there were even gifts. Each holiday really was special in our house. Now that I’m a mom, I find myself trying to bring that same kind of special to our celebration of holidays. So when I saw that our local craft store was having a class over the weekend focusing on Easter decorations I immediately went to sign up…only to find out that the Easter garland class that I really wanted to take is only offered on Sunday. And I’m working this Sunday. I probably only work 3 weekend days out of the whole year and this weekend had to be one of them. Ugh.
So I decided to go to the craft store and see if they would give me the instructions and materials ahead of time, and, lucky for me, they would. And everything was great, until I started to read the instructions and realized that there was no way I was going to be able to do the craft. It was just too complicated. In fact, even with a live instructor present, I might not be able to complete it. Challenging doesn’t begin to describe it.
But the garland was so cute, I couldn’t just give up on it…I just needed to make it easier. A lot easier. And sure enough, after some tweaking, I was able to do just that – make a cute Easter garland (complete with bunnies & chicks!) in about a half an hour. Of course, it really helped, when I found these pre-packaged pompom bunny and chick packages on sale for 50% off! 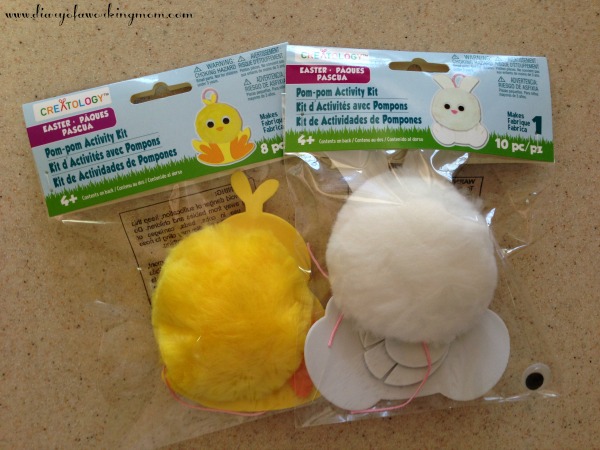
Right now, I’m using my garland as a decoration in the kids’ play area, but I’m also considering using it as the starting line for our egg hunt this year. My girls just love it!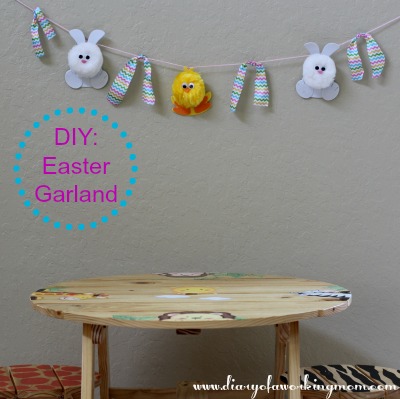
You will need:
Pink yarn
Colorful ribbon
Hot glue
Prepackaged bunny & chick patterns
Step 1 – Put together the bunny & chick patterns using hot glue, with the exception of the very last part of attaching the thread to the back to hang it.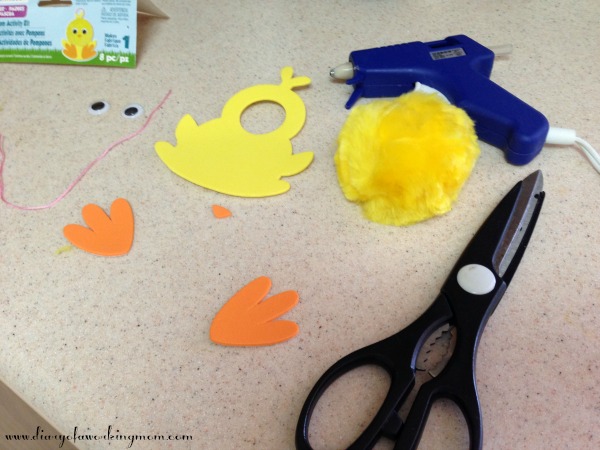
Step 2 – Stretch out your yarn and determine your garland’s length. Determine the middle of your garland and loop the thread from the prepackaged bunny/chick pattern around the yarn and then attach the thread to the back of the bunny/chick. Place a dab of hot glue on the back of the bunny/chick, place the thread on top of the glue, then put a dab of glue on top of the thread. Allow to dry completely.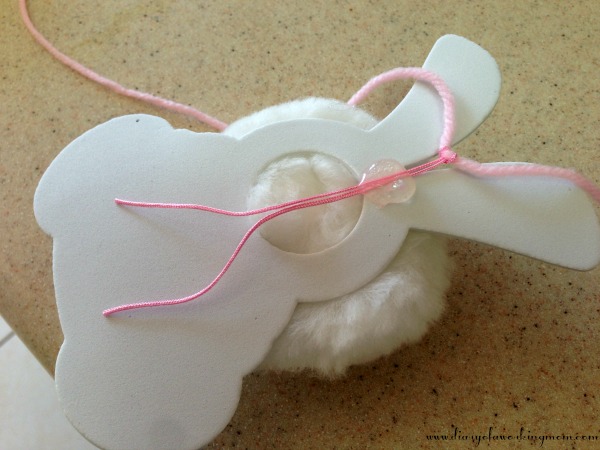
Tip: Don’t leave a lot of hanging room – you want there to be almost no thread showing between the animal and the yarn that it’s hanging from. If there’s too much thread showing, the animals won’t hang flat.
Step 3 – Tie your colorful Easter ribbon between your bunnies and chicks. No more than a single knot is necessary. I found it easier to do this step when my garland was already up on the wall.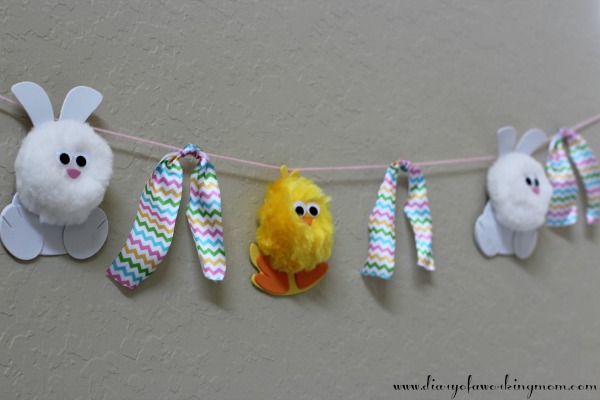
Enjoy!
Note: I used pre-packaged chick and bunny patterns that I found at the craft store for 50% off. I was able to purchase each pack for about $0.75, so I bought a few. If you can’t find any patterns, you could easily make your own using foam, pom poms, and googly eyes.


This is so cute! I totally need to try this out!
That garland is very pretty and I can see why your daughters love it! Since I am Ms Klutz I would not attempt to make this but sometimes wish I could.
This is so cute and such a great idea! My son would love this!
Pingback: Wordless Wednesday - Easter Festivities! - Diary of a Working Mom