There’s no doubt that I’ve been extra crafty lately. But with all the pink, red, and hearts associated with Valentine’s Day really gets me in the mood to create things. I love Valentine’s Day! Combine that with my love of Mod Podge (seriously, I know I’ve posted about them a lot lately, but I swear, I’m not a rep for them) and you’ve got some great crafting potential.
Speaking of Mod Podge, did you know they make a glossy variety? I picked some up by accident a few months ago but wasn’t sure exactly how to use it. And then it came to me – votives! Admittedly, I bought these votives and some tissue paper a while ago and planed to do them for a *cough* Halloween *cough* project, but it just never happened. So Valentine’s day it is!
You will need:
Glass votive
Tea light/small candle
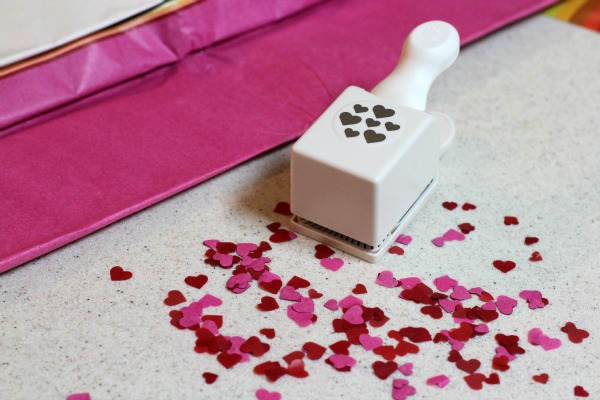
Heart punch
Pink & red tissue paper
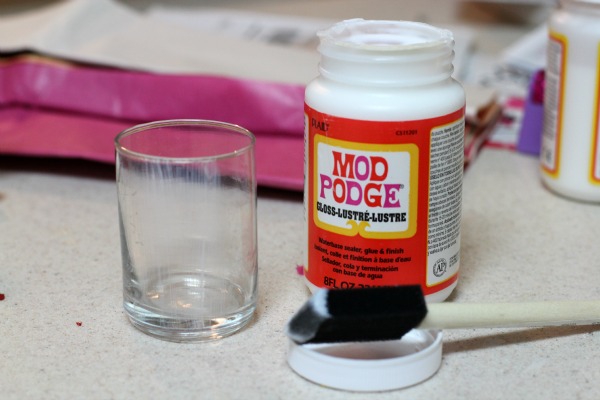
Glossy Mod Podge
Foam tip paint brush
Step 1 – Using your punch, cut hearts out of the tissue pink and red tissue paper. Punching several sheets of tissue paper at one time is a huge time saver, but you’ll need to separate all the hearts after you’re done punching.
My punch is by Martha, and although it was labeled $10+, I got it for $3.99 on sale. If you’re looking to spend even less, there were other punches available in the scrapbook aisle that were in the $2.99 to $3.99 bracket, full price (so you should be able to use a coupon).
Step 2 – Make sure your votive is clean and cover a small portion of it with the glossy Mod Podge, using an up and down sweeping motion with your brush. You’ll want to do this project in small sections or the Mod Podge will dry before you have a chance to affix your hearts.
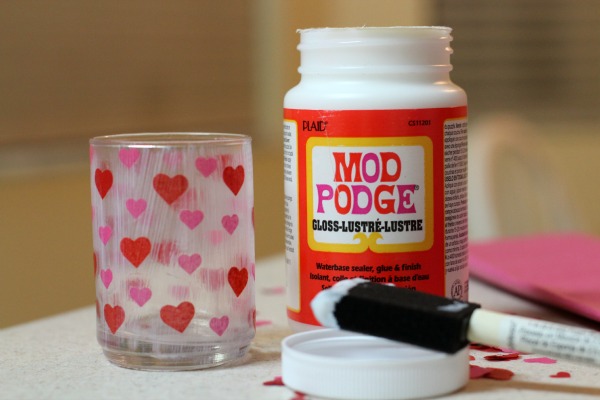
Step 3 – Affix hearts to the votive in the design you’d like on the area covered with Mod Podge. Once you’re finished with one area, move on to the next, covering it with Mod Podge and affixing the hearts. If an area dries before you can affix the hearts, just paint a bit more Mod Podge on it, but make sure to use the same sweeping motion. Once you’ve attached all your hearts, let it dry completely.

Step 4 – Cover the entire votive with a layer of Mod Podge going from bottom to top, to seal the hearts. You need to do this gently though – the hearts may start to rip if you apply too much pressure. Also, remember to do only one coat, because more than one could cause the color of tissue paper to bleed onto the paint brush and votive.
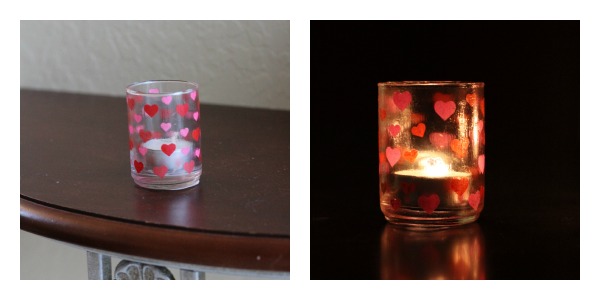
Then, step back and enjoy your Valentine’s Day decorations!
Okay, so you’re probably wondering if you could use regular Mod Podge for this project. Well, the answer is – yes and no. Yes, it will work. It will look like a frosted votive when you’re finished, as opposed to mine that has that textured look. But I also say no because when I did it with regular Mod Podge, the color of the hearts started to bleed on to the votive (and be smeared all over the votive while I was covering it with the final coat) during the final coat. With the glossy, I could apply a coat without any risk of the colors bleeding (unless I went over one area repeatedly), but with the regular it started pretty much immediately. It affected the color of the glass and didn’t look great. I also noticed that the hearts would tear apart easier when the regular Mod Podge was used. To be on the safe side, stick with the glossy!


Okay, those are so very cute! Totally awesome craft! You use that mod podge for a lot of stuff. I’ve never heard of it.
Regardless, I’m pinning this and making these with my kids. Where did you get that heart punch?
These are sweet…I LOVE mod podge!!
Love this simple project. Thanks for clarifying the mod podge information. I would have bought any kind and then is be annoyed. I will look for glossy.
These are so cute! I had NO idea there was Mod Podge for glass!
Adorable! I love how simple this is. I better get out my Mod Podge stockpile and play around with some votives for gifts!
These are so cute! I need to find a little heart punch and make a few of these.
Thanks so much for linking up with this week’s Whip It Up Wednesday linky party!
I think I’ll try the valentine glass idea with swords and shields for my sisters candles. 😀
Pingback: Awesome Blog Shoutout! Week of February 4th - The Squishable Baby
Pingback: 20 Valentines Day Crafts {Round Up} - Diary of a Working Mom