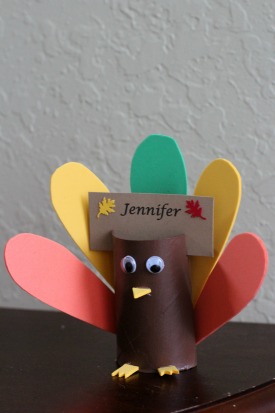
Can you believe it? Thanksgiving is less than 3 weeks away! I don’t know what it is about this time of year, but it just flies by. There’s no doubt in my mind that the next 3 weeks will go at light speed. Last year we had both of our families in town to celebrate the holiday, but this year, it’s just going to be the 5 of us. While I loved having a table full of people last year, I’m just as happy to be having a smaller celebration this year. Less food to prepare and a bit less craziness in the kitchen, but that doesn’t mean that I won’t go all out decorating. Knowing how fast this time of year goes, I decided to forgo my normal procrastination and get started on some table decor.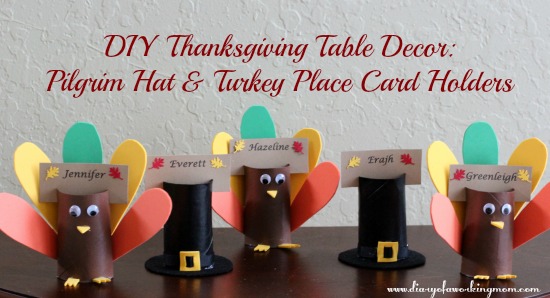 But the great thing about this craft is that it doesn’t matter if it’s 3 weeks, 3 days, or 3 hours before your Thanksgiving meal. These place card holders can be whipped up in about 60-90 minutes, including the time it takes to let the paint dry (depending on the type of paint you use), and they are cheap! In addition to an empty paper towel holder, I used the foam left over from my owl hairclip project, stiff black felt from my Halloween hairclip craft, and some old scrapbook paper. Total cost for me was zero. And they turned out really cute – my girls love them!
You will need:
Paper towel tube
Black paint and paint brushes
Stiff black felt
Black ribbon
Yellow foam (you might also be able to use construction paper if you don’t have foam)
Scissors
Pencil
Hot glue
Glue stick
Brown, yellow & red cardstock
Leaf punch
Step 1- Cut a paper towel tube into 3 inch segments and discard excess.
Step 2 – Paint paper towel tube black. Decide which end of your tube will be the top of the hat and paint inside the top of your hat 1-2 inches down. Allow paint to dry completely.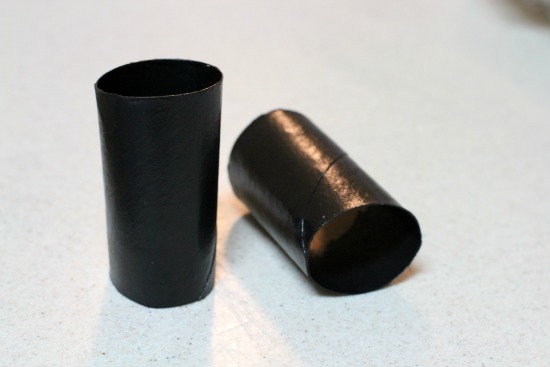
Step 3 – Trace a circle on to the stiff felt and cut out. You want your felt circle to be bigger in diameter than your paper towel roll. To make sure that my felt circle was perfectly round, I traced around an old ribbon spool, which was the perfect diameter. You could also use the rim of a glass or something similar.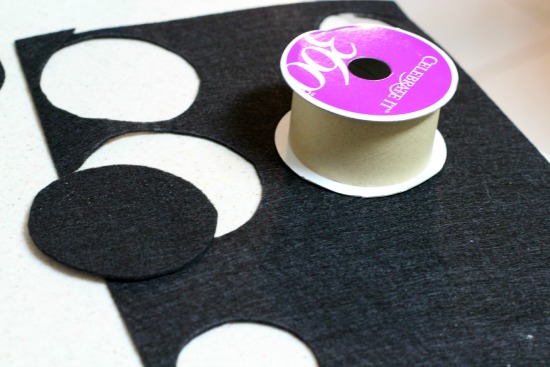
Step 4 – Using hot glue, attach the side that you’ve decided will be the bottom of your hat – the side of the tube that you did not paint inside – and attach to the stiff felt.
Step 5 – Cut a 3/4″ by 3/4″ square out of the foam. Bend the foam square in half and cut two small slits on either side, then unfold the foam. Thread the ribbon through the two slits. Pull the ribbon through so the foam is in the middle of your ribbon.
Step 6 – Wrap the ribbon around the base of your paper towel roll (above the stiff felt) and attach with hot glue.
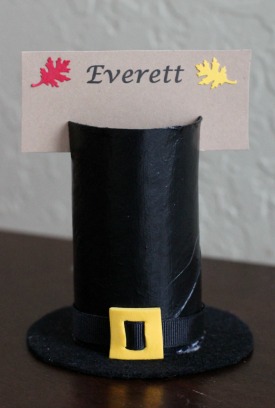
Step 7 – Print your names on the brown cardstock and cut down to a 3″x 1 1/2″ size. Punch out some leaves from the red and yellow cardstock and attach to the place card using the glue stick. As a side note, I finally found something to do with all those extra glue sticks I had to buy when school supply shopping!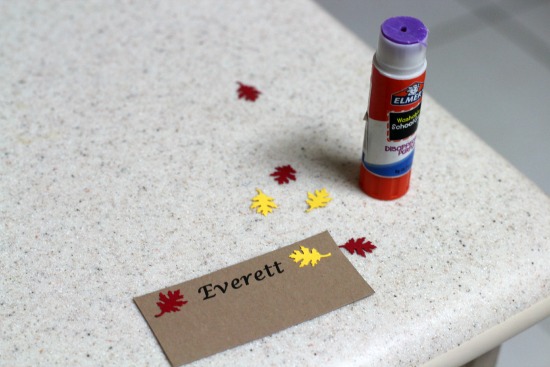
Step 8 – Cut a 1/2″ slit on the sides of your paper towel roll and slide your place card in.
You will need:
Paper towel tube
Brown paint and paint brushes
Green, yellow & orange foam (you may also be able to use construction paper if you don’t have foam)
Googly eyes
Scissors
Pencil
Hot glue
Glue stick
Brown, yellow & red cardstock
Leaf punch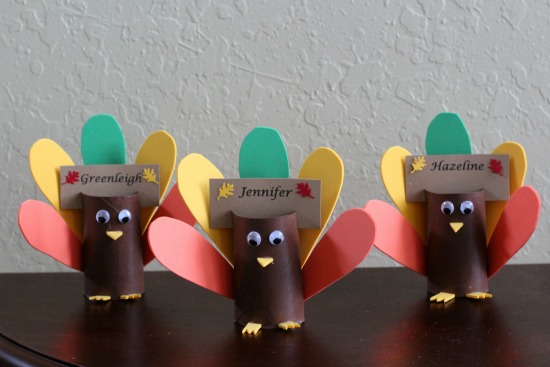
Step 1 – Cut paper towel roll into 3 inch segments and discard the excess.
Step 2 – Paint paper towel roll brown and paint 1-2 inches down the inside of the tube at the top of the turkey. Allow paint to dry completely.
Step 3 – Draw a feather on a piece of card stock and cut out; this will be your feather. I drew mine free hand, but you might be able to find a stencil to use online. Place your cardstock feather on the foam, trace around it, and cut it out. You will need 2 orange feathers, 2 yellow feathers, and 1 green feather per turkey. While you are cutting from your foam, cut out your turkey’s beak and feet from the yellow foam. These are pretty small, so I just cut these out as opposed to tracing and then cutting them.
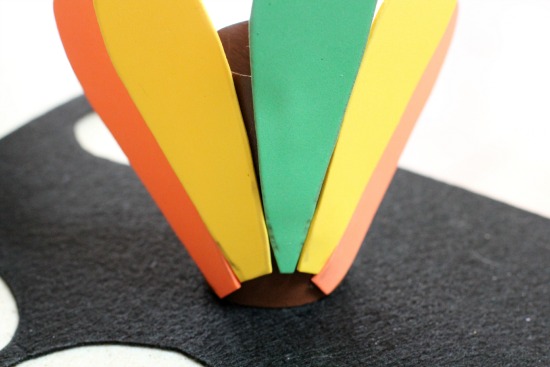
Step 4 – Start putting the feathers on your turkey by attaching the green, middle feather first using hot glue. Then attach the other feathers around it. You want your feathers to be next to one another but not overlapping. Also, if you can see the pencil marks from where you traced your feathers out of the foam, make sure to place that side to the back (facing away from the paper towel roll).
Step 5 – Attach the googly eyes, beak, and feet to the paper towel roll. You want your feet to be glued to the side of the paper towel roll, not the underneath. If you glue it underneath, it will be uneven and have problems standing up.
Step 6 – Print your names on the brown cardstock and cut down to a 3″x 1 1/2″ size. Punch out some leaves from the red and yellow cardstock and attach to the place card using the glue stick.
Step 7 – Cut a 1/2″ slit on the sides of your paper towel roll and slide your place card in.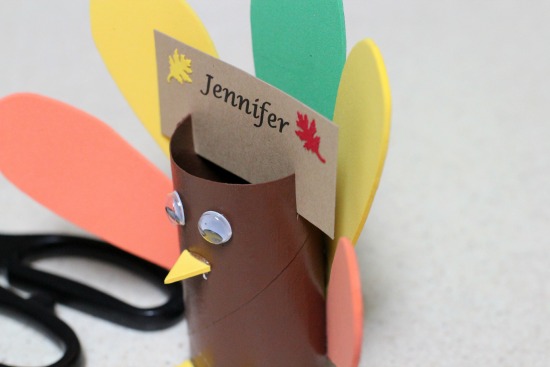
Enjoy your beautifully (and economically) decorated table!

Very cute idea. I like working with foam, makes your project stand out.
How very cute. What great projects.
Pingback: Favorite Pinterest Finds | DIY Thanksgiving Table Ideas - Thrifty T's Treasures