You may or may not know this about me, but I’m an owl fanatic. Okay, not real owls, but owl bedding, clothing, and accessories for the girls? I’m in! So a few weeks ago when I found some owl hair clips to go with their new outfits I was sold…until I saw the price tag. Oh my. The girls love wearing hair accessories, but don’t have a great track record of actually holding on to them all day. Simply put: I refuse to invest a ton of money in hair clips they are probably going to lose. So instead, I turned to the internet and found a pattern to make my own owl hair clips. Clips that would be easy to make and inexpensive in the even they were lost. One warning though – after you figure out how easy these clips are to make, you’ll soon have a flock (parliament?) of your very own!
You will need:
Sheets of thin, colored foam – I bought a value pack of 65, 6 in x9 in sheets with several colors for $2.99 at Michaels
Owie Owl Pattern – 2 copies, shrunk to 35% of the original size
Scissors
Hot Glue
Tacky or Foam Glue
Googly Eyes
Metal Hair Clip
Ribbon wide enough to cover the clip – mine was 3/8 of an inch grosgrain ribbon
Step 1 – Print out the “Owie Owl” pattern that can be found here. Once printed, run it through the copier and shrink it to 35% of it’s original size (unless of course, your printer is awesome and will allow you to mess with the percentages before you even print it – unfortunately, mine won’t let me…or at least, I can’t figure it out if it does). Then make a copy of it, so you have two pages with the owl pattern on it, both at 35% of the original size.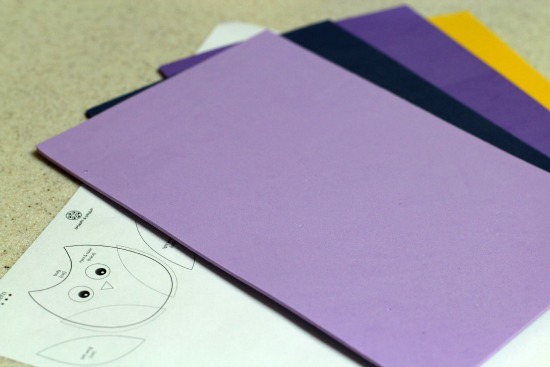
Step 2 – Cut the body and wings of the owl pattern out of one of your copies. Cut the eyes out of the other copy. Remember, you only need to cut the outer most circle of the eyes, because you’ll be placing googly eyes on top.
Step 3 – Place the owl body and wings face down on a piece of your foam. I used contrasting colors for the body and wings/eyes (but it’s up to you!). Trace around the body, wings, and eyes with a pencil. 
**Words of warning – Don’t use a pen for this step! I used a pen the very first time I tried this craft, thinking that the ink would dry right on to the foam. Unfortunately, that never happened. Instead, the ink got all over my hands and countertop, and even now when Greenleigh touches the clip, she gets ink on her hands. What a mess! Pencil on the other hand, stays put.
Step 4 – Cut the owl’s body, wings, and eyes out of the foam. Turn the foam pieces over so the trace marks are on the back. Cut the beak out of yellow or orange foam (I suppose you could trace this, but I just snipped a small triangle without tracing).
Step 5 – Using tacky glue or foam glue, glue the googly eyes on to the round foam eye pieces. Then glue the wings on to the owl’s body, and the round foam eyes on to the body. Finally, attach the beak. Place to the side and allow to dry completely. And don’t worry if you can see the glue (like below), it will dry clear.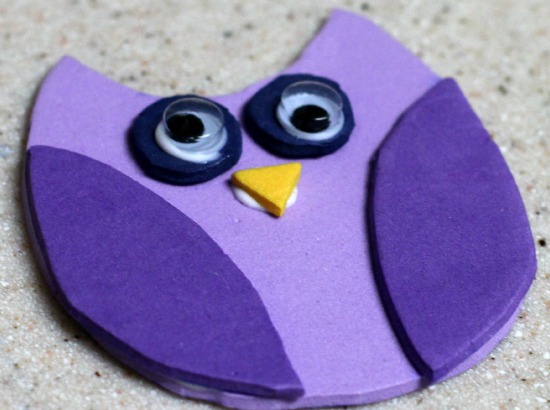
Step 6 – Using a glue gun, cover the hair clip with ribbon. Since no one really sees the clip, I suppose this part is optional, but I prefer it this way. I think the clip looks more finished when covered in ribbon and it only takes a minute or two to do.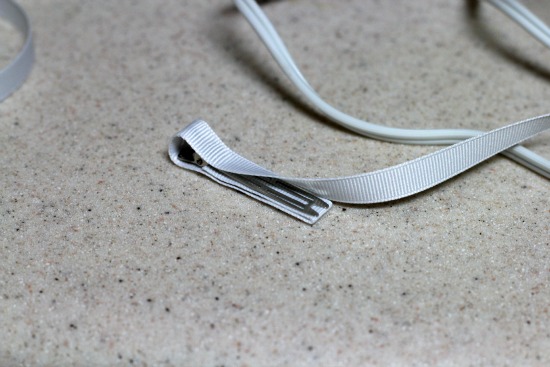 Step 7 – Once the owl’s body has completely dried, attach the clip to the back of the owl using the hot glue gun.
Voilà! It’s the perfect accessory!
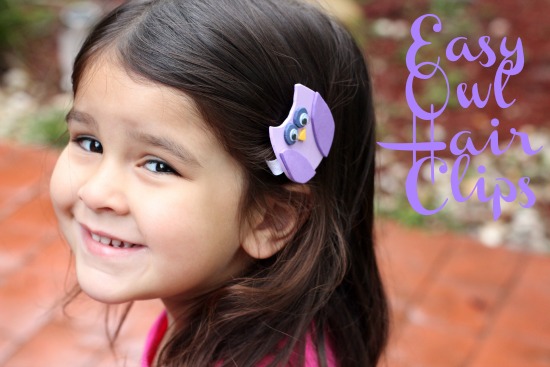 And if you’re having an owl birthday party, these hair clips would make the perfect favors for little kids or crafts for older kids!

OMG these are so cute!!!!
Awww those are super cute!!
Adorable…and I love any excuse to play with googly eyes!
Those are cute, and they look fairly easy to make. If you’re interested, I’d love for you to link this up to my Tutorial Tuesday Blog Hop tomorrow.
These are just too cute! I have to make one for my niece, her school has the Owl as their mascot.
Okay, those are SO cute! I love owls too. The best part is those goggly-eyes! Pinning this to pinterest.